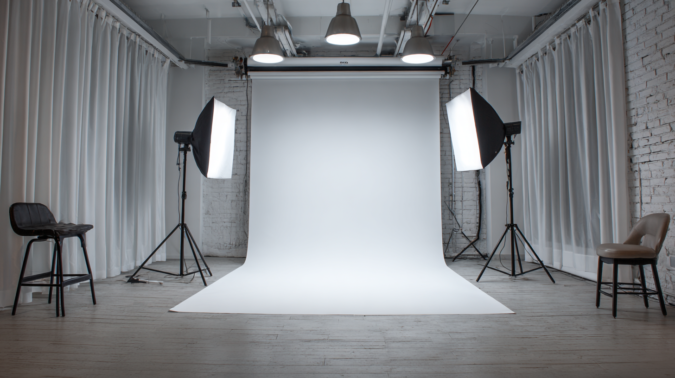
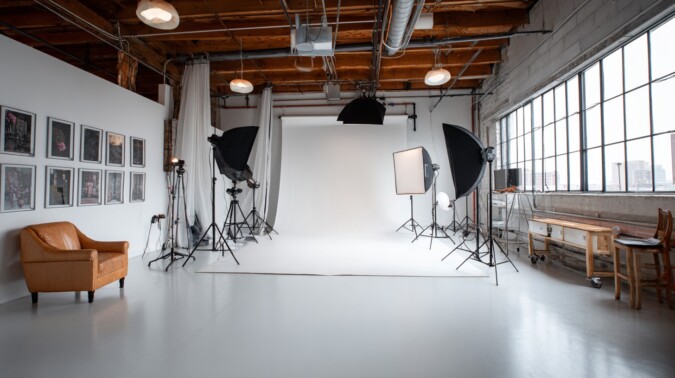
Creating a professional photo studio isn’t just about gear. It’s also about control. You’re building a space where the light behaves the way you want it to, the background doesn’t distract from the subject, and you can fine-tune every element to get the exact shot you’re after.
It doesn’t matter if you’re shooting portraits, fashion, or products; a well-planned studio gives you consistency, speed, and polish.
Let’s walk through the real nuts and bolts of what you need to set up a photo studio that feels like a proper working environment, not just a corner with a camera and a lamp.
Planning the Photo Studio
Before you buy a single light or backdrop, you need a plan. Every detail matters. It’s easy to overspend or buy the wrong equipment if you don’t start with a clear direction.
Clarify Your Photography Style
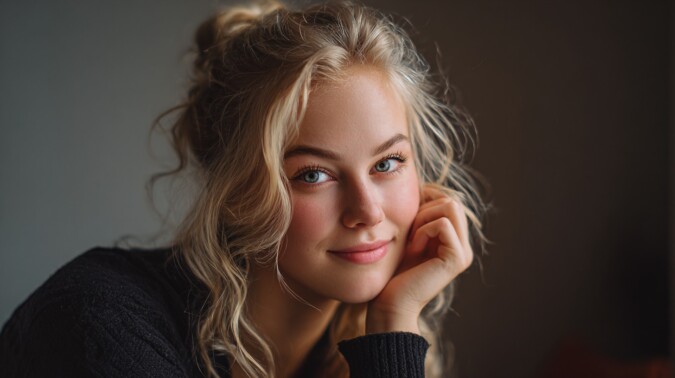
- Portraits photography need space for people to move, pose, and feel comfortable.
- Product photography often calls for smaller setups but demands careful lighting.
- Fashion and commercial photography typically need larger setups, versatile backdrops, and space for stylists or assistants.
Knowing what kind of work you want to focus on tells you what to invest in.
Break Down the Essentials
Use a checklist to stay focused on what actually matters:
| Aspect | Considerations |
| Photography Type | Portrait, product, fashion, commercial |
| Equipment | Camera, lenses, lights, stands, backdrops, props |
| Space | Size, layout, lighting control, access |
| Budget | Gear cost, monthly expenses, studio rental |
| Post-Production | Editing software, laptop/monitor, file storage |
| Props/Costumes | Items suited to your niche (e.g., newborn accessories, clothing, newlyweds) |
Treat Every Shoot Like a Big Deal
Even if you’re just practicing or shooting a friend, treat the setup like it’s for a national brand campaign. The mindset shift matters. It builds habits. It shows up in the work.
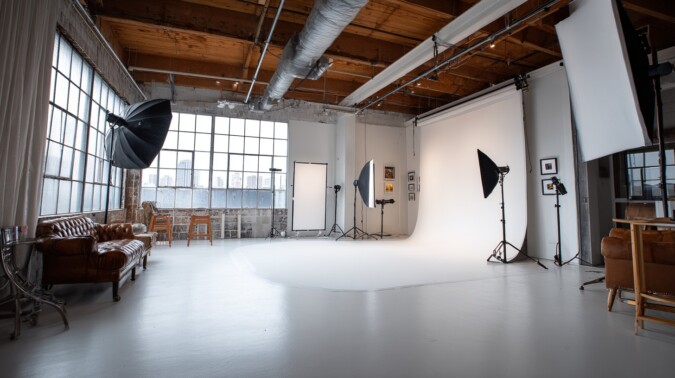
Picking the Right Space
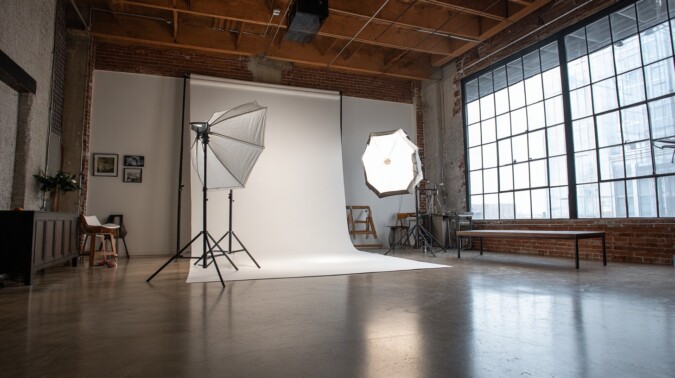
Your studio doesn’t need to be in a downtown warehouse loft. Many great photo studios started in garages, spare rooms, or rented corners of coworking buildings. What matters is how you use the space.
Home Studio Setup
- A 2×1 meter area works for basic portrait sessions
- Product shots can fit in 1×1 meter zones with a flat table
- White walls are helpful – they reflect light nicely
- Blackout curtains give you control over ambient light
It’s okay to start scrappy. One photographer in London turned their garage into a photo studio with a white wall and a wide backdrop that could fit both people and props.
Renting or Leasing a Space
If you’re shooting clients regularly or running larger sessions:
- Look for studios with space to move around equipment comfortably
- Parking, loading docks, or freight elevators help a ton
- A separate dressing or makeup room is a major bonus
Natural light is beautiful when you want it – but make sure you can block it out too. Controlled lighting gives you repeatable results.
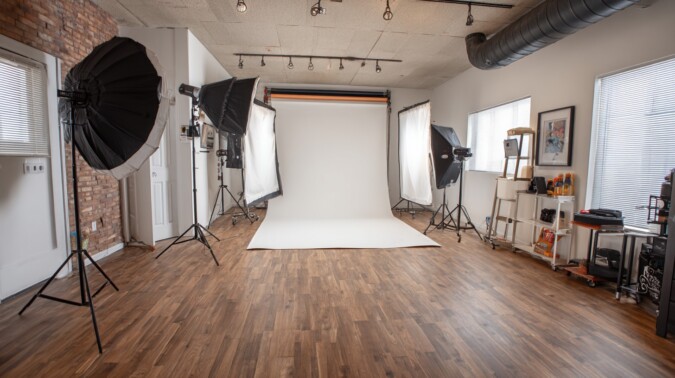
Essential Studio Equipment
Every solid photo studio starts with gear that gets the job done consistently.
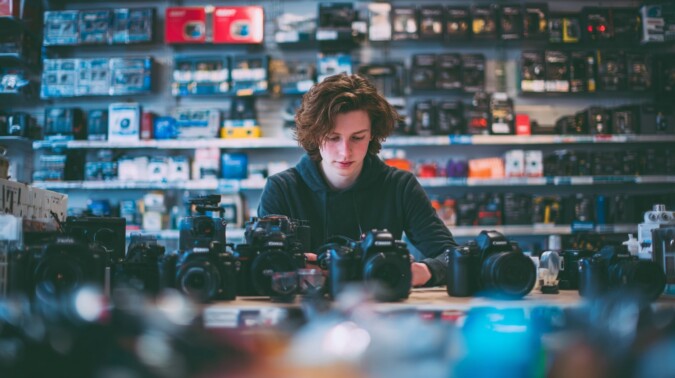
Camera and Lenses
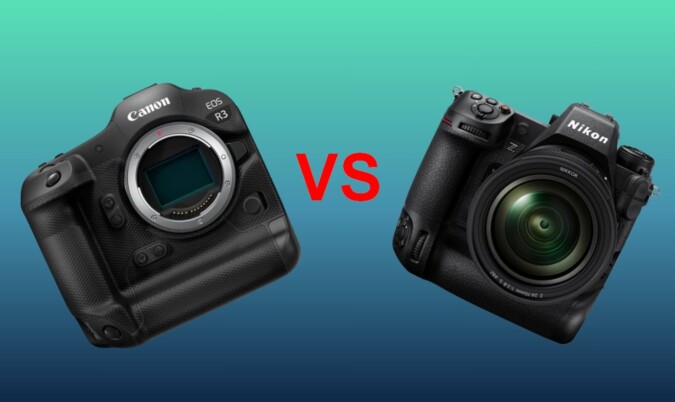
Here are cameras to consider:
These are high-end, but even a Canon R6 or Sony a7 IV can work wonders when paired with the right lens.
Lens Choices
| Use Case | Recommended Lenses |
| Portraits | 50mm f/1.8, 85mm f/1.4 for shallow depth and bokeh |
| Products | 35mm or 24mm f/8 for wider shots, macro for details |
Lighting Options
Lighting is where studios either shine or fall flat. Here’s what to look for:
- Strobes: Short bursts of powerful light. Great for portraits.
- Continuous lights: Better for products. What you see is what you get.
Modifiers
- Softboxes for smooth, flattering light
- Umbrellas for broader light spread
- Gels and snoots for drama and control
You can get quality strobe kits starting around $100. Manfrotto’s Lastolite system is a solid option when paired with flashguns.
Backdrops That Work
You’ll need variety, but not a closet full. Start with:
- White backdrop: Clean, flexible, professional
- Black backdrop: For contrast and mood
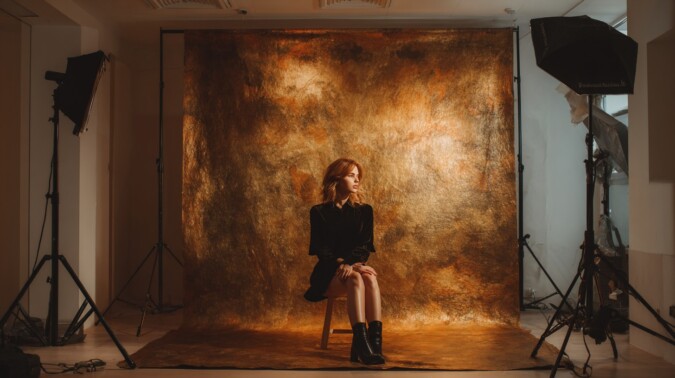
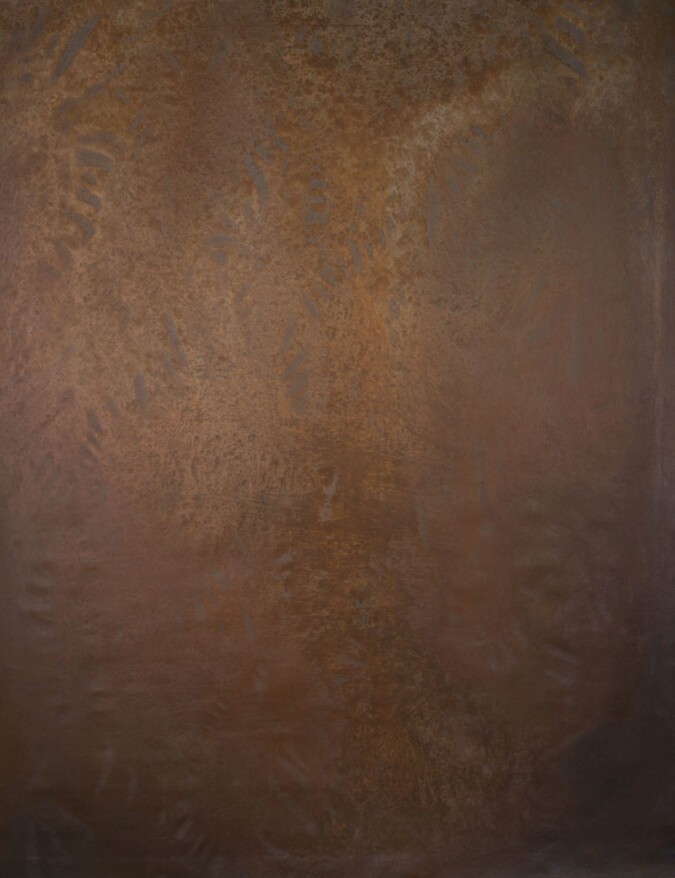
- Textured options: Think faux brick or canvas for depth, or invest in truly unique photography backdrops that bring dimension and artistry to your scenes.
- Collapsible: Saves space and lets you switch quickly
- Cyc walls: Seamless, curved white walls for full-body and commercial work
For newborn sessions, soft-colored bokeh backdrops work beautifully. For edgy campaigns, textured black or abstract options add drama.
Think of how Pirelli Calendars use artistic backgrounds to tell a story, and you will immediately understand what we’re talking about.
Supports and Stands
- Light stands: Every light needs a sturdy home. Manfrotto 5001B Nano is compact and strong.
- Tripods: A must for product shots. Less crucial for portraits, unless you’re tethering. Try the Neewer 74″ Pro Video tripod.
- Clamps: You’ll always need to hold something – backdrops, lights, reflectors.
Other Useful Tools
- Reflectors and diffusers to shape your light
- Ladders for overhead shots
- Fans for movement in fabric or hair
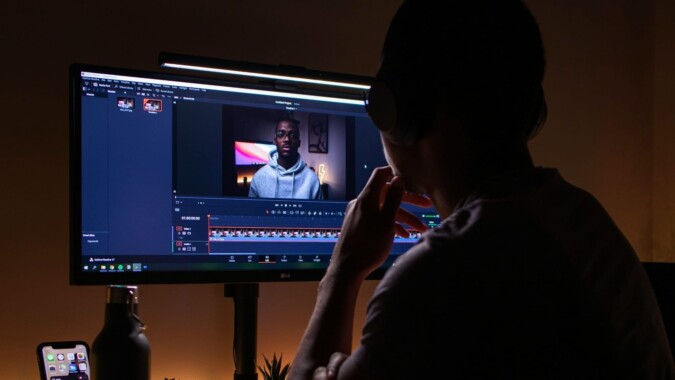
- Laptops and monitors for tethered shooting
- External drives and high-speed SD cards for secure storage
| Category | Examples |
| Lights | Godox strobes, LED panels, Neewer softboxes |
| Tripods | Manfrotto, Neewer 74″ Pro Video tripod |
| Laptops | MacBook Pro M3, Dell XPS, Surface Laptop Studio |
| Storage | Western Digital SSDs, ProGrade Digital SDXC cards |
Putting It All Together
Now that you’ve got the space and gear, it’s time to set it up like a working studio.
Layout Tips
- Keep a clean workflow. Place gear where it saves steps.
- Hang backdrops tightly to avoid wrinkles
- Keep cables tidy with velcro straps or floor covers
Portrait Lighting Setup (Simple 3-Point System)
- Key Light at a 45° angle from the subject
- Fill Light on the opposite side, at lower intensity
- Backlight or rim light behind the subject for separation
Product Lighting Setup
Use continuous lights from both sides, with reflectors or softboxes to kill harsh shadows. Watch for reflections if you’re shooting glossy items.
Going Beyond the Basics
Once the fundamentals are dialed in, you can add creative tools to elevate your shoots.
Techniques That Add Dimension
- Hair light: Adds definition in portrait shots
- Camera-mounted flash: As a subtle fill light
- DIY filters: Try placing patterned fabric over lights
- Special effects: Water, mirrors, colored gels
- Step ladder: For overhead or top-down compositions
One trick that works well for atmospheric shots is using a small fan to create gentle fabric movement – especially effective for fashion or maternity shoots.
Staying on Budget
You don’t have to spend a fortune to get professional results.
- Start small: Even $100 strobes and a paper backdrop can look great with the right technique
- Rent before buying: Platforms like Peerspace let you test studios and gear
- Look for deals: Used gear from reliable sources like B&H or KEH can save you hundreds
Bonus Tip: Let Your Studio Earn Its Keep
If you’ve built something others would want to use, consider listing your space on Peerspace. Photo studios often rent for $50-$100 per hour, depending on size, lighting, and amenities.
Safety and Legal Details
A studio should look good – but it also needs to be safe and legally solid.
- Hire an electrician for wiring and outlets
- Get liability insurance, especially if clients are on-site
- Use cable covers to prevent trips and protect cords
- Check local rules about business licenses, signage, or zoning
- Label breakers and switches clearly in case of emergency
Don’t wait until something goes wrong. It’s easier to prevent problems than fix them later.
Promote Like a Pro
Once the space is up and running, don’t wait for people to just find you.
Online Presence
- Create a site using Squarespace or WordPress
- Upload full-resolution images to a dedicated portfolio page
- Share behind-the-scenes shots on Instagram, TikTok, or Pinterest
- Post short walkthroughs or lighting tutorials to YouTube
Local Marketing
- Get listed on Google Business
- Partner with local models, stylists, or agencies
- Host a free portrait day or discounted mini-session to generate buzz
If you’re renting out the space, make sure the Peerspace listing includes accurate square footage, lighting options, parking info, and example photos.
Final Thoughts

Setting up a professional photo studio is more than just buying lights and hanging a backdrop. It’s about building an environment where your creativity and skill have room to grow.
Start with what you need. Upgrade as you go. Pay attention to layout, lighting, and workflow. When everything clicks – space, gear, mindset – you won’t just be taking better photos.
You’ll be running a place where clients feel like they’re in expert hands. The studio is where your reputation gets built, one photo at a time.