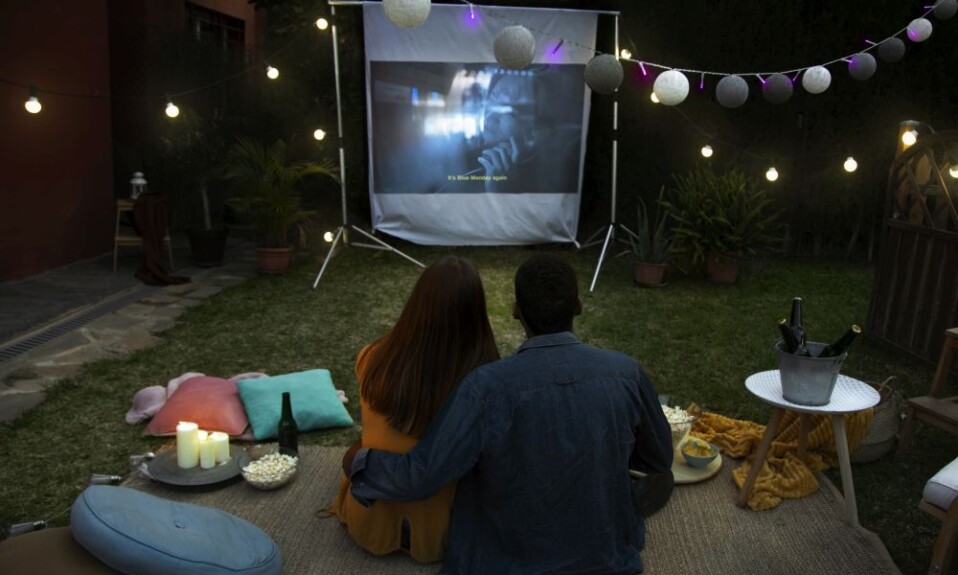
An outdoor movie night feels like a small event, but the difference between a good evening and a frustrating one usually comes down to planning. A washed-out picture, a seat that faces the wrong way, or a cord stretched across a walkway can ruin the mood fast. This guide walks through each part of the setup so you can enjoy the film instead of troubleshooting it.
Choose the Right Spot
Start by walking the space at the time of day you plan to watch. Look for a spot with a flat or gently sloping lawn, a solid wall or fence to project onto, and enough room for both the seating and a walkway that guests can use without crossing the picture.
Pay attention to light sources. Streetlights, porch lamps, and neighboring windows can wash out an image more than most people expect. Orient the screen so it faces away from the setting sun and away from any lights you cannot switch off. Watching at dusk or after dark, rather than in the early evening, also helps the picture look sharper.
Set Up the Screen and Projector
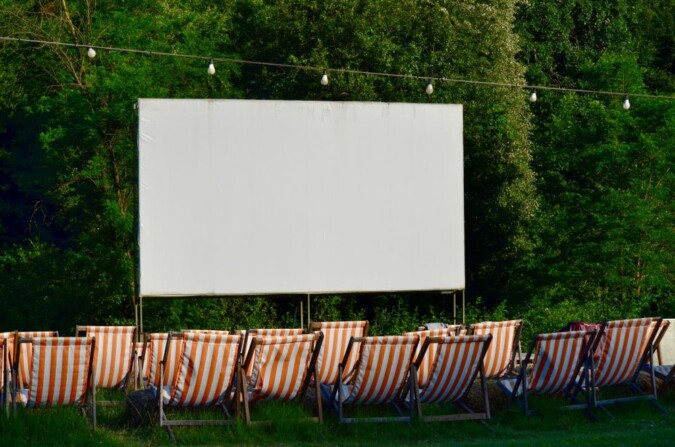
A projector needs a screen, a stable mount, and the right distance between the two. Many hosts use one of these options:
- A portable projector screen with a matte white or light grey surface, which is easy to store and move.
- A blank white wall, the simplest option if you have a suitable exterior surface.
- An inflatable screen, which is popular for events but needs a flat base and secure anchoring in wind.
Keep the screen perpendicular to the projector lens where possible. Angled projection forces you to use keystone correction, which reduces sharpness. Set the lens roughly level with the bottom third of the image so you rarely need to adjust it.
Sizing the Screen
Brightness is the main limit on screen size. When the same light is spread over a larger area, the image gets dimmer. The table below gives planning figures for a 16:9 screen with a gain of 1.0, aiming for roughly 137 nits of brightness after dark. Treat these as starting points rather than guarantees, since your projector’s real-world output depends on its picture mode and the light around the screen.
If you have some residual ambient light, plan for more brightness than the table suggests. A projector rated at 3,000 lumens or more gives you room to work with on most backyard screens.
Seating and Comfort
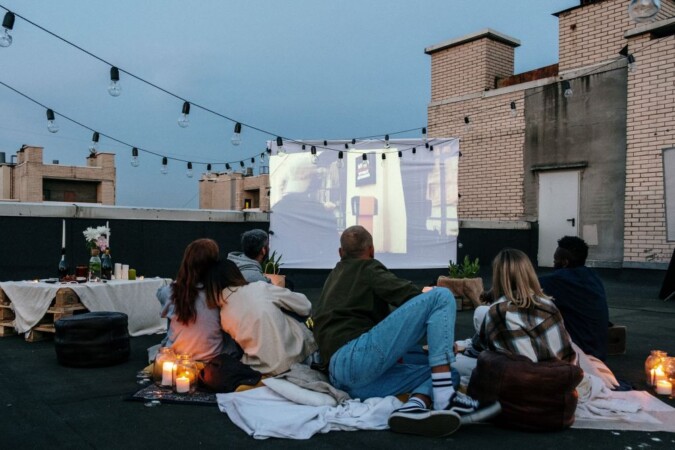
Comfortable seating matters more than most people think, especially for a film that runs two hours. Arrange rows so that people in the back can see over the heads in front of them, and leave the front row far enough from the screen that nobody has to crane their neck.
- Use deck chairs, folding loungers, or floor cushions for a casual feel.
- Offer blankets, since evenings cool down quickly even in summer.
- Place a small table nearby for drinks and snacks, away from the walkway.
If your lawn is uneven, consider building a level platform for the seating area. Many hosts use aluminium decking because it stays level, resists weather, and does not need the regular sealing that wood requires. A flat, firm base also keeps chair legs from sinking into soft ground.
Lighting and Ambiance
Warm string lights set the mood without spilling onto the screen.
Atmosphere comes from soft, low lighting placed away from the screen. The aim is to light the seating area enough for guests to move safely, while keeping the screen surface dark.
- Choose warm white bulbs, which are easier on the eyes than bright cool light.
- Hang string lights along fences or tree branches, aimed away from the screen.
- Use battery-powered lanterns or candles on tables, placed well out of the picture path.
- Turn off any floodlights that face the screen before the film starts.
Power and Safety
A relaxed evening outdoors works best when the power and fire safety are planned in advance.
Power is where most backyard setups run into trouble. Projectors, speakers, and lights all draw current, and the cables often cross grass or damp ground. Before the first guest arrives, check the following:
- Use only extension cords rated for outdoor use, and match the cord’s rating to the total wattage of the equipment.
- Keep cords off standing water and out of walkways where people could trip.
- Plug outdoor equipment into a circuit protected by a ground fault circuit interrupter (GFCI), or use a portable GFCI.
- Inspect every cord and plug for cracks or exposed wire before use.
The U.S. Consumer Product Safety Commission’s guidance on extension cords explains the markings and construction features to look for when buying a cord. For a broader list of everyday precautions, the Electrical Safety Foundation International’s extension cord safety tips cover overloading, heat, and damaged cords in more detail.
If you plan to have a campfire nearby, keep it at a safe distance from the screen and seating, and make sure someone is responsible for putting it out before the night ends.
A Pre-Show Checklist
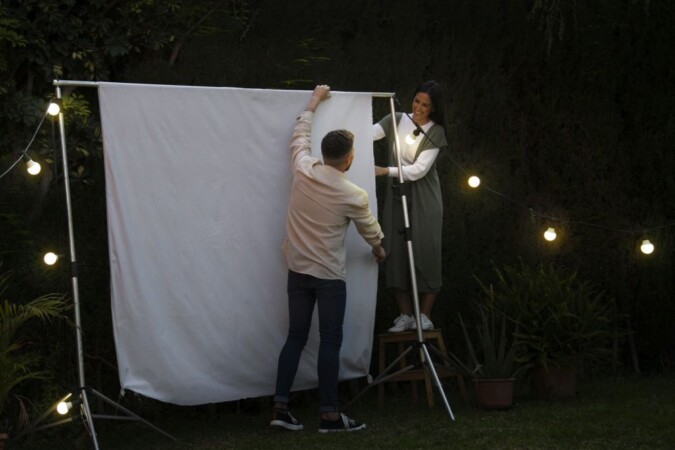
Before you press play, run through a short final check. Test the projector focus at the same time of day you plan to show the film, confirm the sound reaches the back row at a comfortable volume, and make sure the path from the kitchen or house to the seating area is clear and lit. Keep a spare extension cord, a flashlight, and a blanket within reach. Once everything is in place, dim the last lights, start the film, and let the evening take over.
Frequently Asked Questions
How big should my outdoor movie screen be?
For an average backyard, a 120-inch screen is a practical starting point. Smaller yards suit 100 inches, while larger groups may need 150 inches or more, provided the area is dark enough for the projector to produce a good picture.
When is the best time to start an outdoor movie?
Start once the sky is fully dark, usually at least 30 minutes after sunset. Earlier starts often produce a dim, washed-out image.
Do I need a special projector for outdoor use?
Not necessarily, but brightness matters more outdoors than indoors. Choose a projector with enough lumens for your screen size and be prepared to protect it from dew and weather when it is not in use.